
Large-area stone mosaic construction technique
2026-06-21
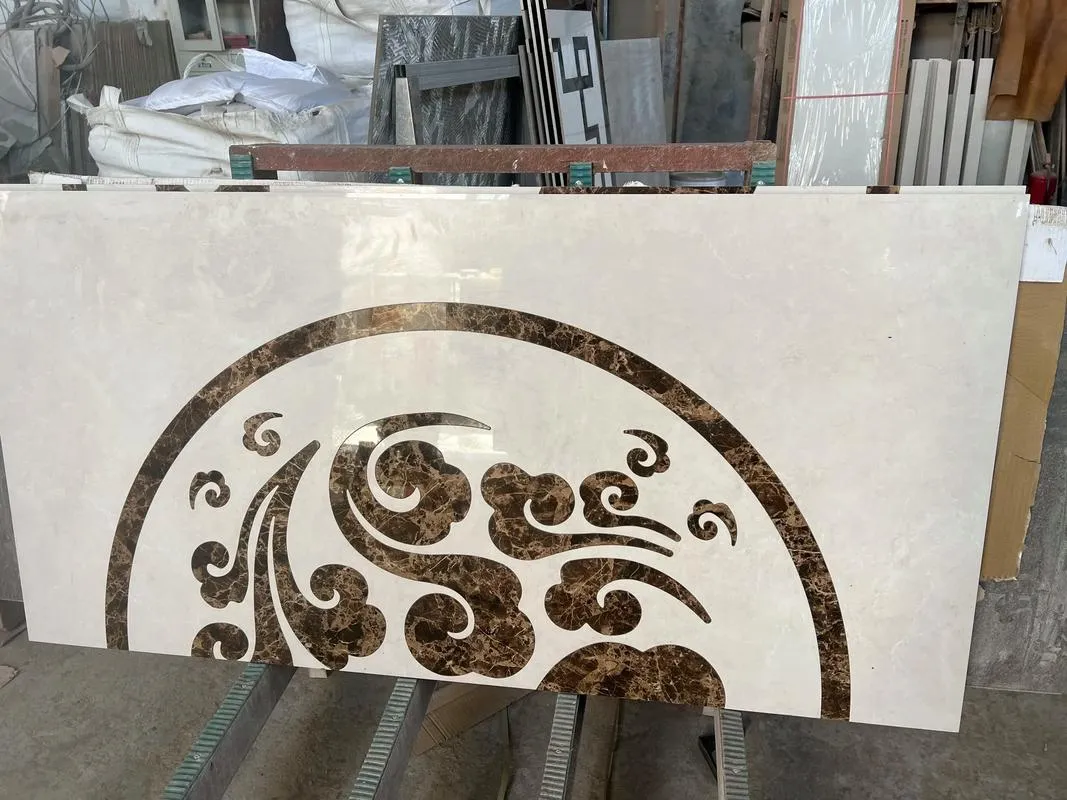
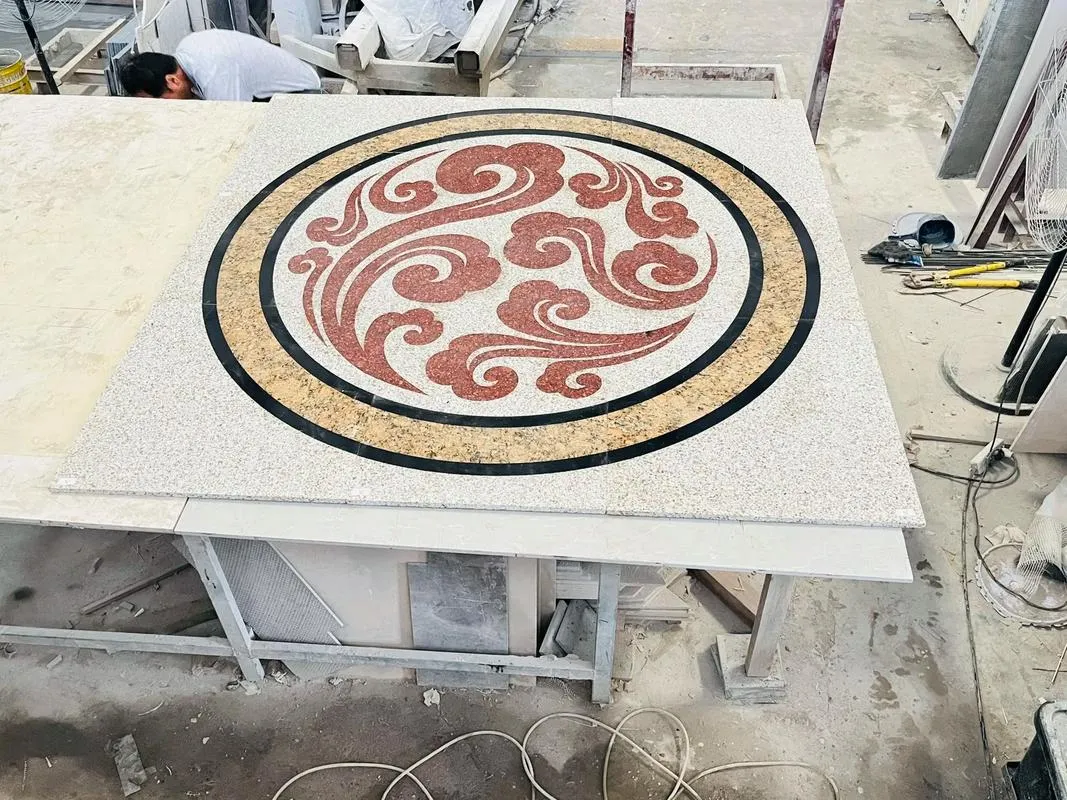
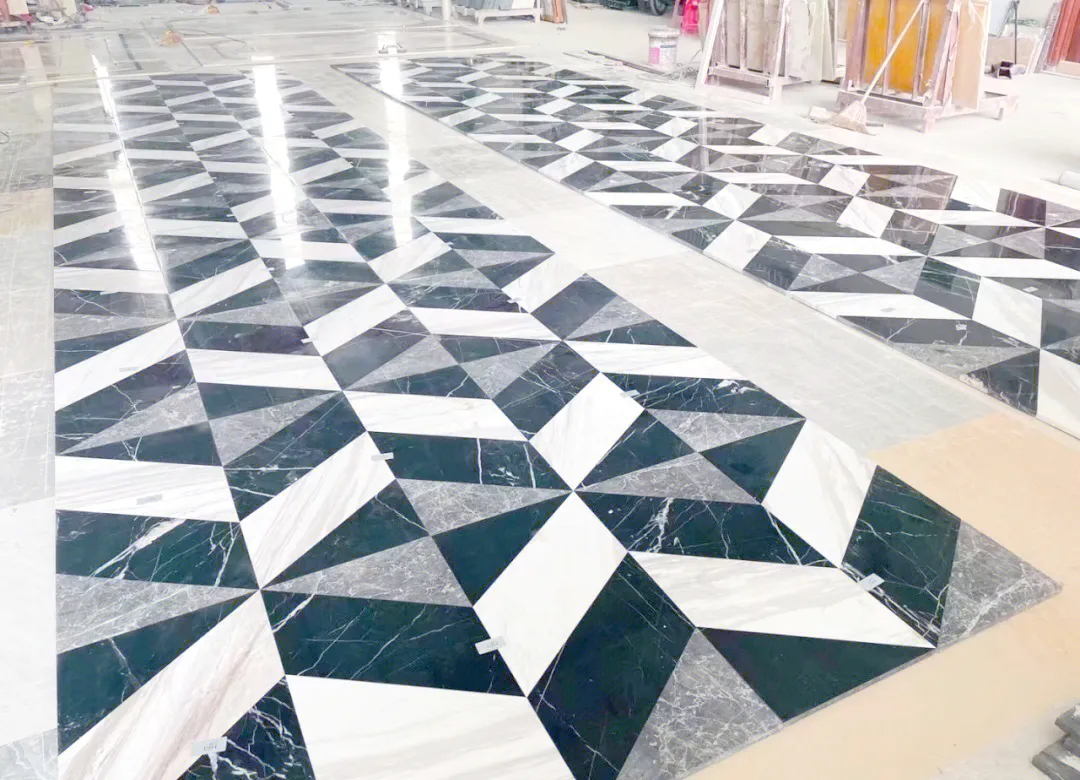
Shanghai Jiani Material Technology Co., Ltd. is a professional company specializing in the production of stone tiles.
Construction Process: Setting Out → Trial Layout → Laying Marble Medallion Inlay → Grouting & Polishing → Waxing & Buffing → Finished Product Protection
1. Setting Out
In accordance with stone construction drawings, layout plans and processing drawings, set out the stone control lines, horizontal elevation lines, stone grid lines, as well as the starting points and installation directions for stone placement.
2. Trial Layout
After setting out, carry out trial layout of stones following the layout plans and stone grid lines. Inspect whether the size, pattern, color and veining of the stones match the drawings.
3. Laying Marble Medallion Inlay
Complete the trial layout before proceeding to lay the marble medallion inlays. First stretch cross control lines at the installation starting point, then commence stone laying.
Principle for determining the starting point of laying
The laying starting point shall preferably be set at the center of the construction area, so that cut partial-size stone slabs can be concealed at wall bases and other hidden positions.
Lay one row of slabs along both the horizontal and vertical cross control lines to serve as benchmark strips for large-area paving. Start paving at the intersection of the cross control lines in accordance with the slab numbers, patterns and joint gaps confirmed during trial layout. Where no design specification is provided, the gap width between slabs shall not exceed 1 mm.
4. Grouting & Polishing
Grout and wipe joints 1 to 2 days after slab paving. Mix cement (or white cement) with mineral pigments of matching marble color at a ratio of 1:1 to prepare thin cement slurry. Slowly pour the slurry into slab joints with a grout kettle (in several batches if needed), and scrape overflowed slurry back into joints with a long-handled scraper until joints are nearly full.
1–2 hours after grouting, dip cotton yarn balls in the same thin cement slurry to wipe joints flush with slab surfaces, while cleaning all cement residue off the slabs to achieve a clean, flat and solid marble finish. Cover the finished surface after this procedure, with a curing period of no less than 7 days.
5. Waxing & Buffing
Waxing and buffing can only be performed after the cement mortar base layer gains sufficient strength (when its compressive strength reaches 1.2 MPa).
If you want to learn more about stone knowledge and information, please feel free to contact us.