
Installation of cultured stone and precautions
2026-06-22
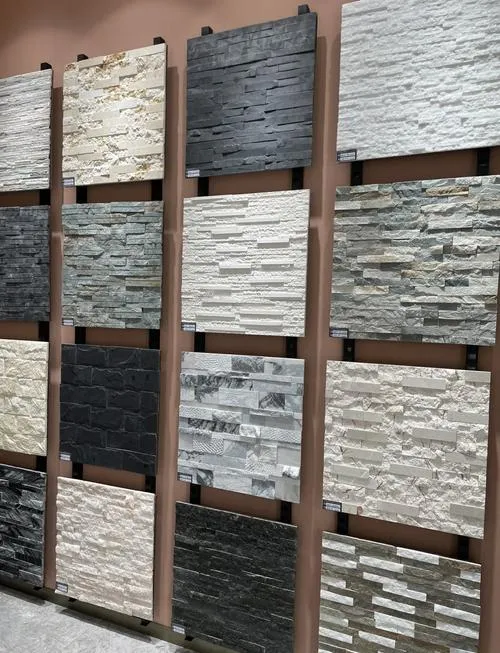
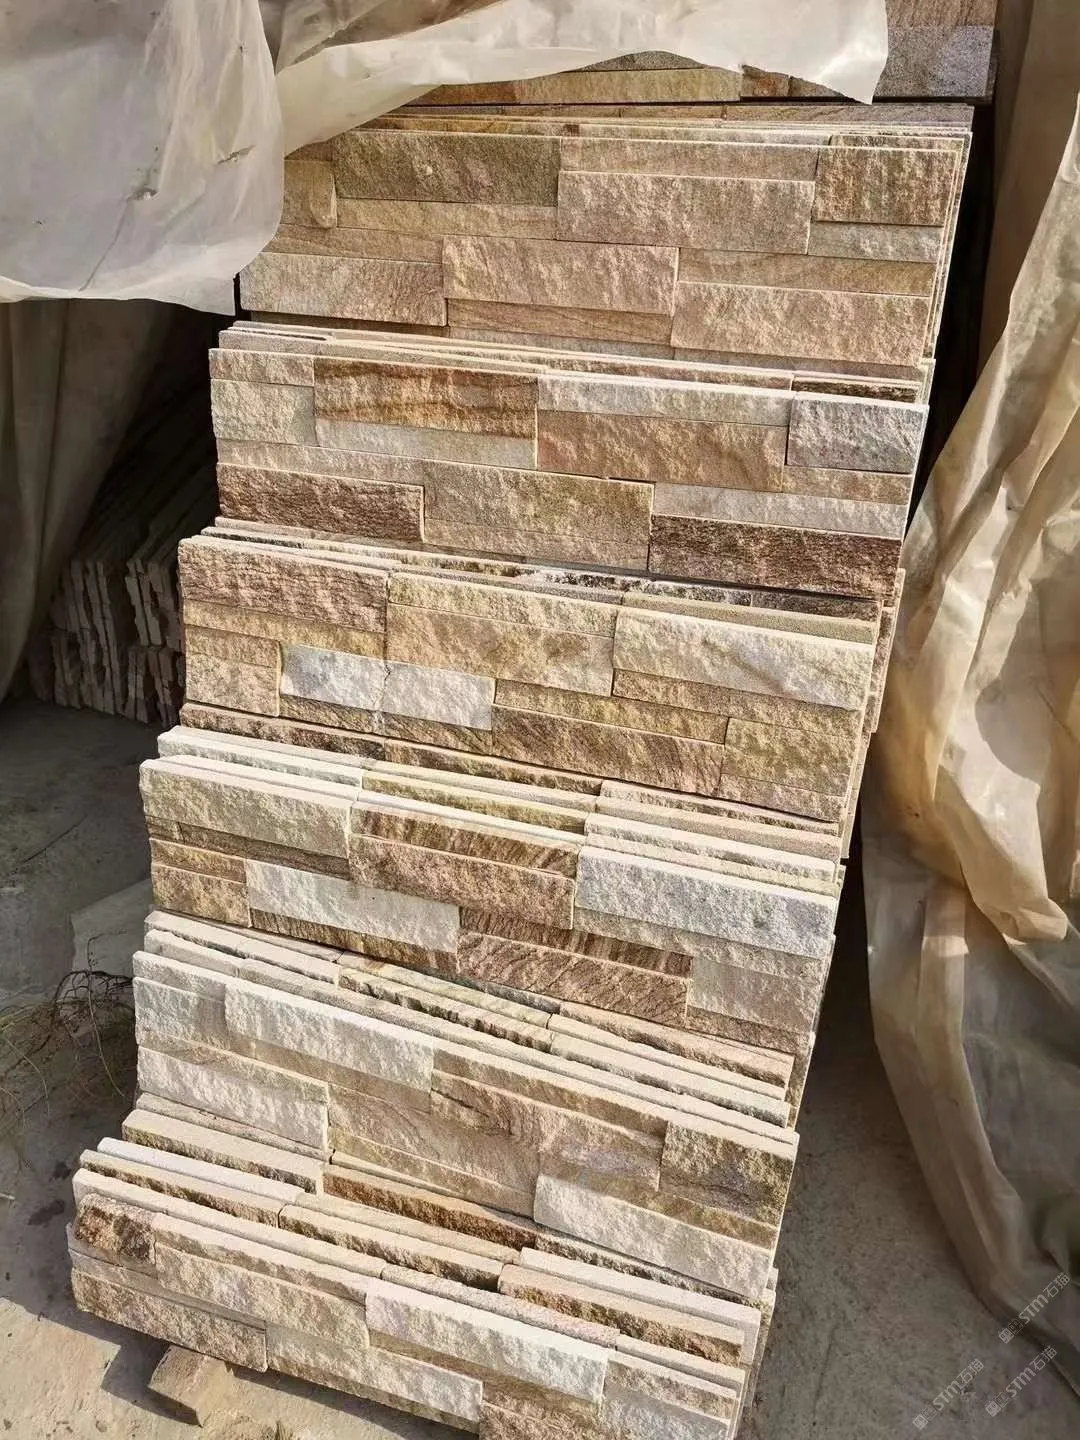
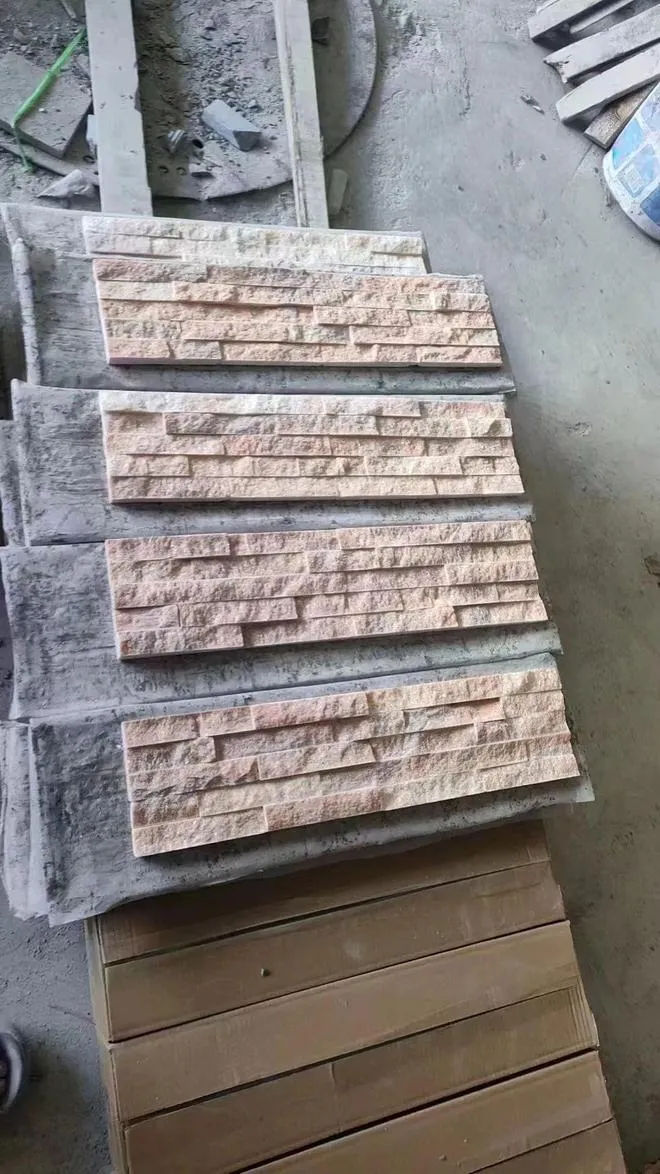
Shanghai Jiani Material Technology Co., Ltd. is a professional company specializing in the production of stone tiles.
Cultural stone falls into two categories: natural and artificial. Featuring rigid texture, vivid hues, diverse grain patterns and varied styles, cultural stone has an uneven surface, so it is generally applied to exterior walls or partial interior decoration.
1. Natural Cultural Stone
Natural cultural stone is quarried from natural stone mines. Slate, sandstone and quartzite are processed to form decorative building materials. It boasts rigid texture, bright colors and rich varied textures, alongside outstanding performance including high compression resistance, abrasion resistance, fire resistance, frost resistance, corrosion resistance and low water absorption.
2. Artificial Cultural Stone
Artificial cultural stone is elaborately manufactured from calcium silicate, gypsum and other raw materials. Replicating the shape and grain of natural stone, it is lightweight, available in abundant colors, mildew-proof, non-combustible and easy to install.
Multiple installation methods are available for cultural stone. Natural cultural stone can be directly laid on walls: roughen the wall surface first, moisten it with water, then adhere the stone with cement. Besides the cement bonding method for natural stone, artificial cultural stone can also be glued. Lay 9mm or 12mm plywood as the base layer, then attach the stone directly with glass adhesive.
Detailed Installation Steps for Cultural Stone
1. Clean the wall thoroughly and create a rough surface. For smooth, low-absorption substrates such as plastic or wood, wire mesh must be laid to form a rough base, which requires full curing before tiling.
2. Prior to tiling, lay out all cultural stones on flat ground to match and arrange them for optimal visual effect, then install in the arranged order. Avoid placing stones of similar size, shape and color next to one another.
- Cement base layer
- Cultural stone layer
- Cement joint bonding layer
3. Adhesive options include white cement above Grade 425, ordinary cement (mix ratio of cement:sand:801 adhesive = 1:2:0.03), ceramic adhesive (follow manufacturer’s instructions) and high-performance special adhesive.
- Cultural stone
- Cement groove (to enhance bonding strength)
- Adhesive
4. Fully soak the cultural stone. Pile adhesive into a mound shape at the center of the stone’s backside (a thin layer of adhesive may be spread on the back of antique bricks). If the stone surface gets heavily stained accidentally, clean it with a brush immediately before installation.
5. Install corner stones first. Press firmly until adhesive extrudes around the stone edges (corner pieces are not required for some products).
6. Cut cultural stones as needed to adjust dimensions during construction.
7. Load grout into a plastic bag for joint filling, and control the filling depth properly. Deeper joints deliver a stronger three-dimensional effect; some products do not require grout gaps.
8. After the grout initial sets, scrape off excess grout with bamboo strips and smooth joint surfaces using a damp brush. If a small amount of grout or adhesive sticks to the stone surface accidentally, remove it with a brush once fully dried.
We welcome you to contact us at any time for any inquiries and requirements.